Something fun and messy I did with my afternoon family, Pinky age 7 and Jimmy age 9.
Drop raw eggs from up high using parachutes made from trash bags.
We made 4 parachutes instead of 3 so that each of the kids could drop 2 eggs. Before dropping the eggs, Jimmy and Pinky gave them faces and names. They also filled out a chart predicting which egg they thought would be a survivor and which would suffer a miserable death. Terrible I know, but the kids get a kick out of it. The 30x30 parachute egg didn't completely die, but he still cracked. Which was a great lead in to the next day's experiment.
Experiment 2:
Demonstrate shell strength
Let the kids know that you are going to drop eggs from high with no parachute... AND that the egg people should survive. Next let kids each take an egg and crack it against the counter. Or with a nail. Something that puts all of the pressure in one spot of the egg. Then let the kids each crush and egg in their bare hand. It should be much harder to crush the egg because the pressure is distributed around the egg. Talk about how the eggs in experiment one were at a disadvantage because they were taking all of the pressure from hitting the ground in one spot. Talk about ways to distribute the pressure from impact.
Experiment 3:
The famous egg drop!

Now's the time to let the kids go nuts with any materials they can find to build a contraption to drop their precious egg people in. I pulled everything out of the craft closet and let them build. They used combinations of toilet paper, animal stuffing, sand, feathers, water bottles, cardboard boxes, craft foam, salt, shaving cream, corn starch, duct tape, and so much more. While they were building we talked about what they were hoping would take on the impact instead of the egg. A couple of Pinky's egg people died during the building process, but she wasn't too upset so long as there was a substitute to step in. After we dropped the egg capsules (the one filled with sand sounded awful) we took them over the trash can and gently opened them up. Only one of Pinky's survived, and one of Jimmy's. It broke my heart when Pinky was upset that her 3rd egg had died saying "but I worked so hard on that one!" So if I do this again, I will be sure to stress before hand that "all little egg people will be harmed in this experiment... sorry" This comment brought Jimmy to start talking about kamikaze's who attend their own funeral before they leave for the mission. Maybe next time we'll have a kamikaze-like funeral service before the drop.

Next week. using toothpicks and mini marshmallows to build a cage around the egg, AND add the 30x30 parachute. I have high hopes.

 I'll be gone for a women's retreat, so hubby is hosting a Halo guys night. Three TVs set up with three XBOXs in one house so 12 guys can play simultaneously. What can I say?... I'm madly in love with a geek! Truthfully, my Martha Stewart geekiness is just as out of control, so I've decided to make cake pops for the boys. The donut version of cake pops is much easier than the cake version or the oreo version. Oreo cake pops still get the number one vote in taste. Note to self, next time try Krispy Kreme donut holes. King Soopers doesn't cut it for taste, but I refuse to give up on donut holes. Donut holes stay together, unlike cake pops, and donut holes are light and won't fall off the stick when dipping, unlike cake pops. It cut the time needed for this project in half, not even including the extra time needed to bake and cool the cake if you make it from scratch.

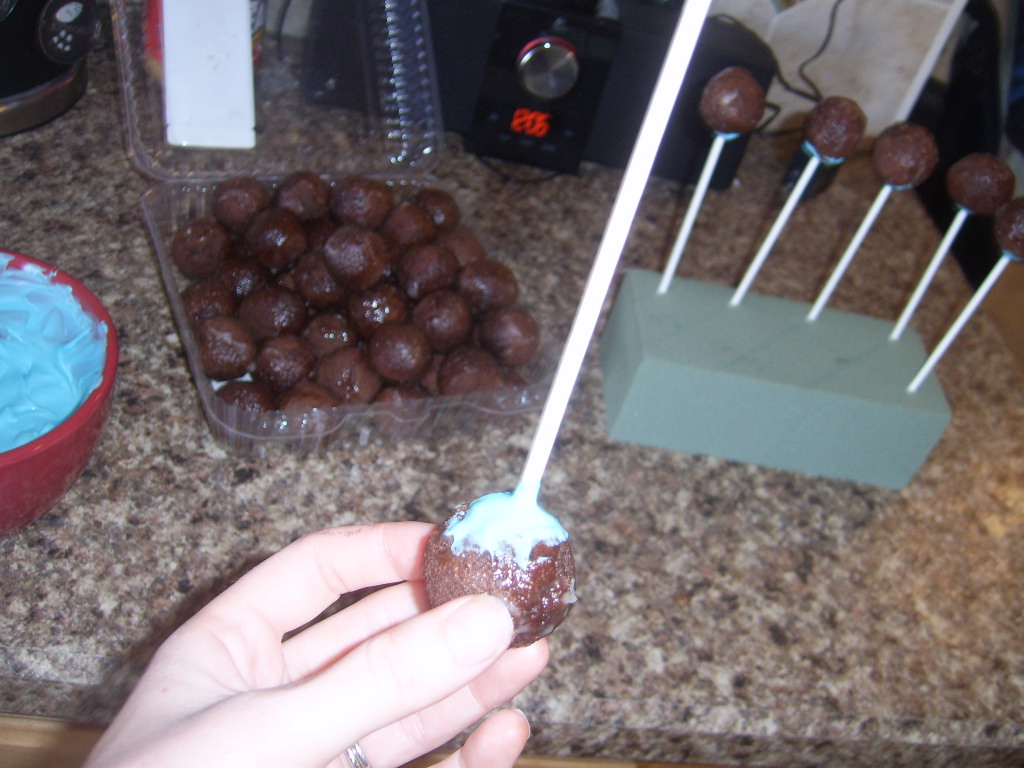


 Let dipped doughnut holes cool right side up stuck in foam blocks. Add piping after the chocolate is hardened. I used Wilton black icing for the halo symbol, but melted chocolate in another color would be more stable.


